Starting with the premium version of v1.3.9, we support adding your own fonts. You can easily use them in all layout customizer controls. Let us show you how to add fonts.
Add Your Fonts
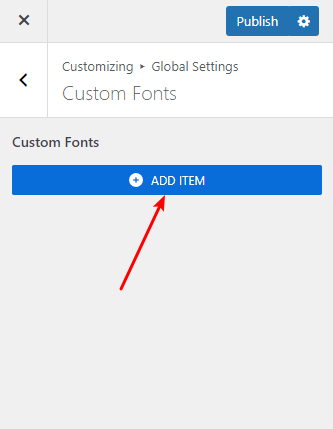
Navigate to “Customizer -> Global Settings -> Custom Fonts” section and click the “Add Item” Button.

Upload Fonts File and Set Font Name
Then you need to set a font name. Please note that if you add multiple fonts, please ensure that their names are unique, otherwise the previous ones will be overwritten.
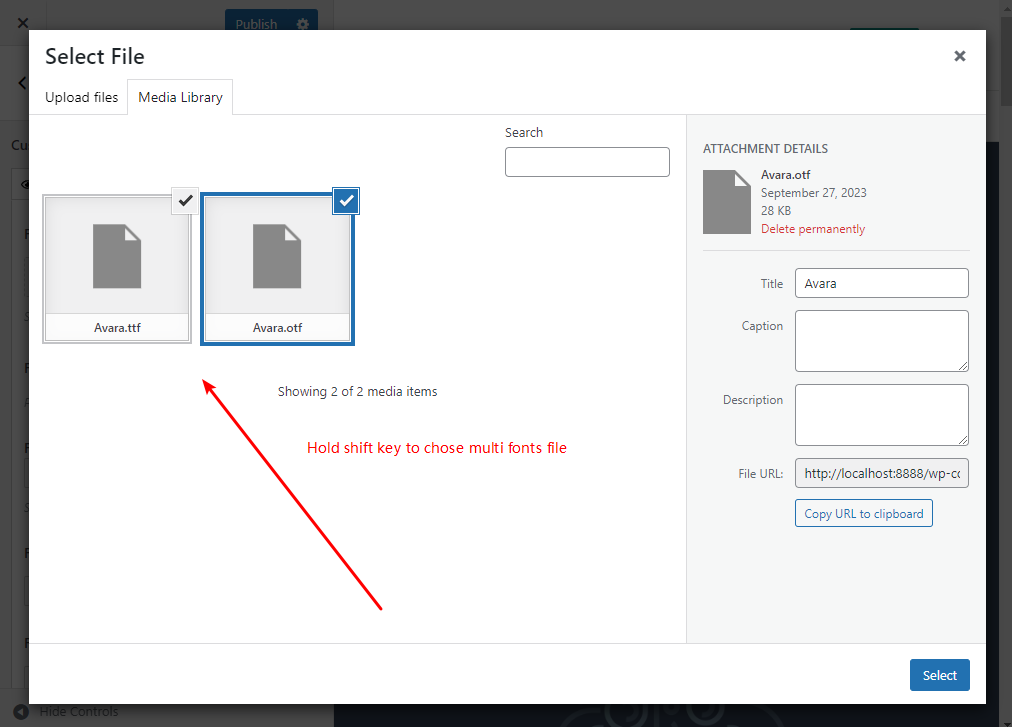
You can then click the “Select File” button to upload and select your fonts file. If you cannot upload font files here, please continue reading and we will introduce how to solve it later.


Using Your Custom Fonts.
Please refresh the browser after saving, otherwise the font list will not show the newly added items.

Unable To Upload The Font File
By default, WordPress restricts the file types that can be uploaded, and font files may be restricted as well, so we need some other way to break the restriction.
The easiest way is to use a plugin, we recommend File Upload Types By WPForms plugin.
Install Plugin

Choose All Fonts Types (.otf, .ttf, .woff)


Save Your Changes, Done!
You should now be able to upload your font files.

